
Short Answer
Ceramic pinholes are tiny openings in fired glaze. Black spots describe a mark’s appearance, while iron specks may come from iron-bearing particles or an intended finish. I judge them by surface condition, location, size, grouping, and the approved design. Ask for physical samples and clear acceptance photos; a dark spot alone cannot prove either danger or food-contact suitability.
When a buyer sends me a close-up of a black dot, my first question is simple: “Is it a smooth mark under the glaze, or is the surface broken?”
Those two things can look surprisingly similar on a phone. Yet they lead to different conversations with the factory. After more than 20 years in ceramic dinnerware, I prefer a careful description to a quick promise that every mark is “natural.”
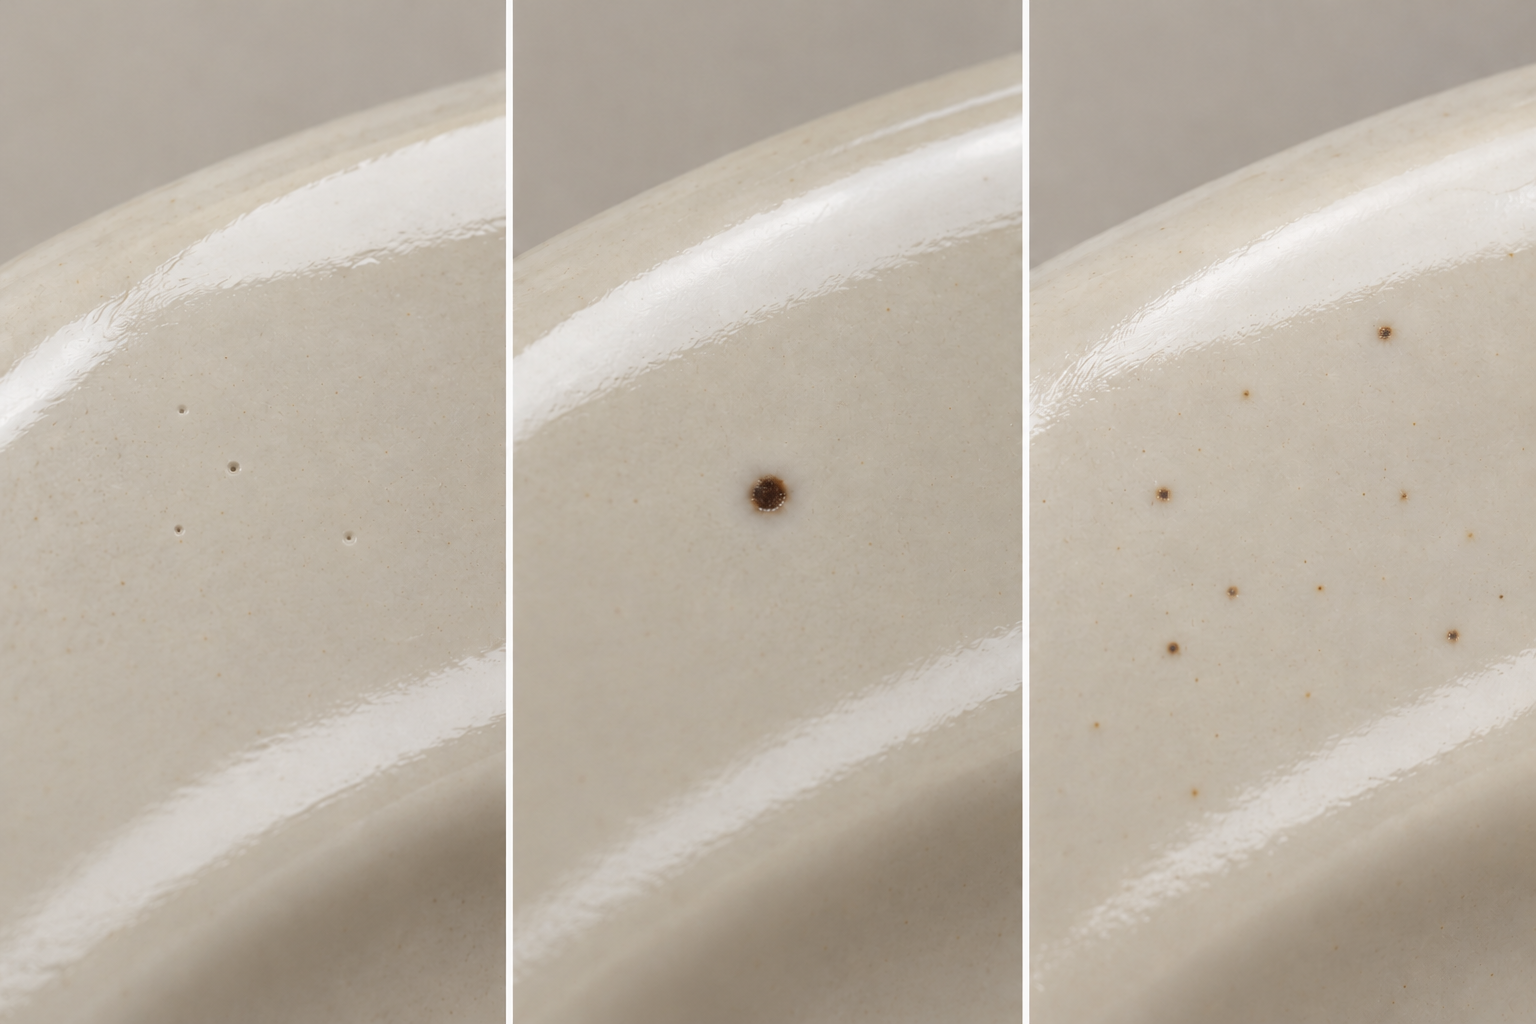
Here is the small glossary I would put beside a sample review.
| Term | What it describes | What the name does not tell you |
|---|---|---|
| Pinhole | A tiny opening in the fired glaze, often extending toward the body below | The exact depth, cause, or acceptance decision |
| Black spot | A dark mark visible on the finished piece | Whether it is iron, another inclusion, decoration, or surface dirt |
| Iron speck | A mark associated with iron-bearing material | Whether it was intended, is smooth, or meets the agreed finish |
A speckled design can be made in different ways. Ask whether the effect comes from the body, glaze, or decoration. Do not assume every dark dot in a rustic collection has the same composition.
For a useful defect record, describe what you can observe first. “Dark spot, smooth surface, inside bowl” is a better starting point than “harmless iron.” The second phrase jumps to a conclusion before the technical team has checked the piece.
Read Ceramic Pinholes and Dark Marks in Three Ways
An opening needs a surface review
A pinhole is more than a color difference. Under suitable light and magnification, look for an opening, a depression, or a raised edge. A photograph may not show how deep it goes, so keep the physical piece.
Digitalfire’s pinholing explanation describes how gases can disturb molten glaze and leave holes that do not close before cooling. Glaze thickness and the firing route can contribute. This is why “we will add more glaze” is not a dependable answer on its own.
For a food-contact area, I would hold open pits for technical review rather than approve them as decoration. Roughness, cleaning difficulty, or a sharp edge needs its own decision. A buyer should not have to guess whether a dark depression is merely a printed dot.
A smooth speck needs a design comparison
Iron-bearing particles can produce specks during firing. Digitalfire’s reduction speckle discussion explains one route involving iron-bearing material and the kiln atmosphere. It does not mean all speckled dinnerware uses that route.
If the surface is continuous and smooth, compare the mark with the approved finish. Check the spread, contrast, and clustering across the whole piece. One attractive sample is a poor guide to a collection that will contain thousands of bowls.
I prefer a small range of approved physical examples showing the intended light and heavier speckling. A large dark patch should not become acceptable simply because the sample had a few small dots.
An unexpected black spot needs identification
For black spots on ceramic dinnerware, the useful next step is to establish where the mark sits. Is it removable surface dirt, a fired-in inclusion, or something in the decoration? Ask the supplier to investigate against retained samples and production records.
Do not scrape the glaze with a knife to find out. That can damage the sample and confuse the original observation. Preserve it for inspection and record any cleaning already attempted.
A convincing supplier answer names the likely source and the evidence behind it. “All ceramics have this” does not explain a new mark on a previously clean white finish.
The Same Smooth Dot Can Lead to Two Buying Decisions
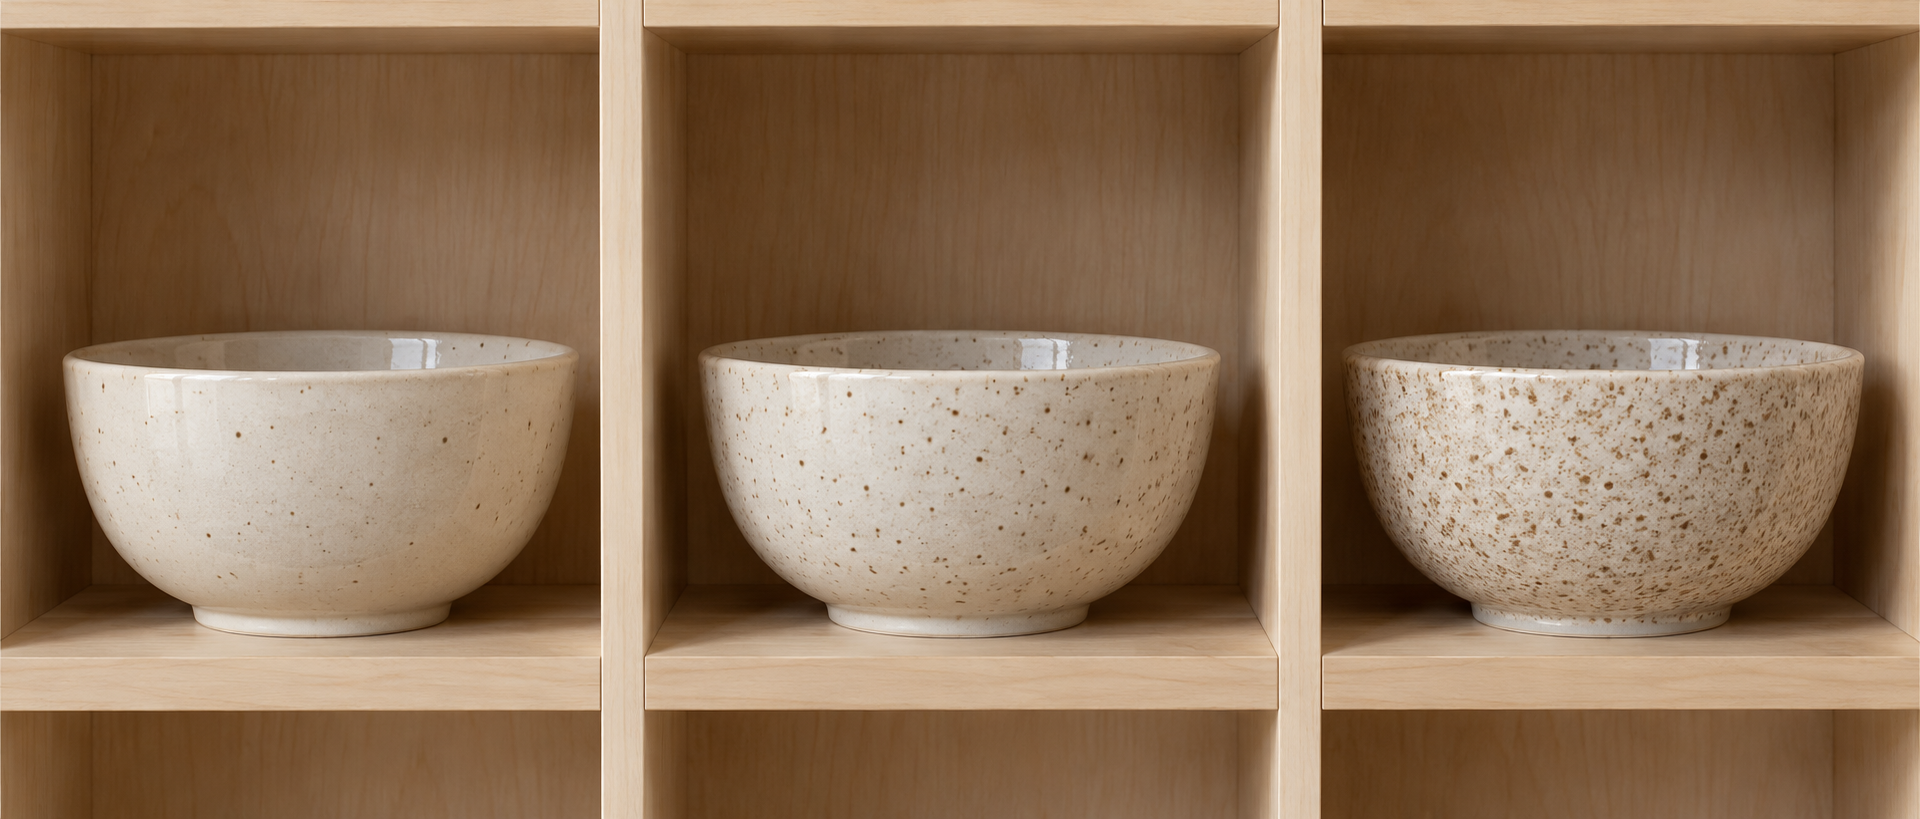
Imagine two collections: a plain white hotel plate and an oatmeal-colored café bowl with approved speckling. This is a planning example, not a FENN customer case.
On the white plate, one dark fired-in spot in the center may conflict with the agreed clean appearance. On the café bowl, similar smooth speckling may belong to the design. Neither decision tells us whether the product passes food-contact requirements.
Now change the café bowl’s mark into an open, rough pit. The rustic appearance does not settle that new issue. The surface condition has changed, so the decision must change too.
I also separate product zones. A mug’s drinking rim deserves its own rule. The inside of a bowl, outside wall, and underside are different viewing and use areas. An underside mark may be less visible, but a rough foot that scratches another plate still matters.
This is where buyers can prevent an expensive argument: approve the finish and the surface quality separately. A photo labeled “speckles accepted” is too broad.
Build a Photo Card That Another Inspector Can Use
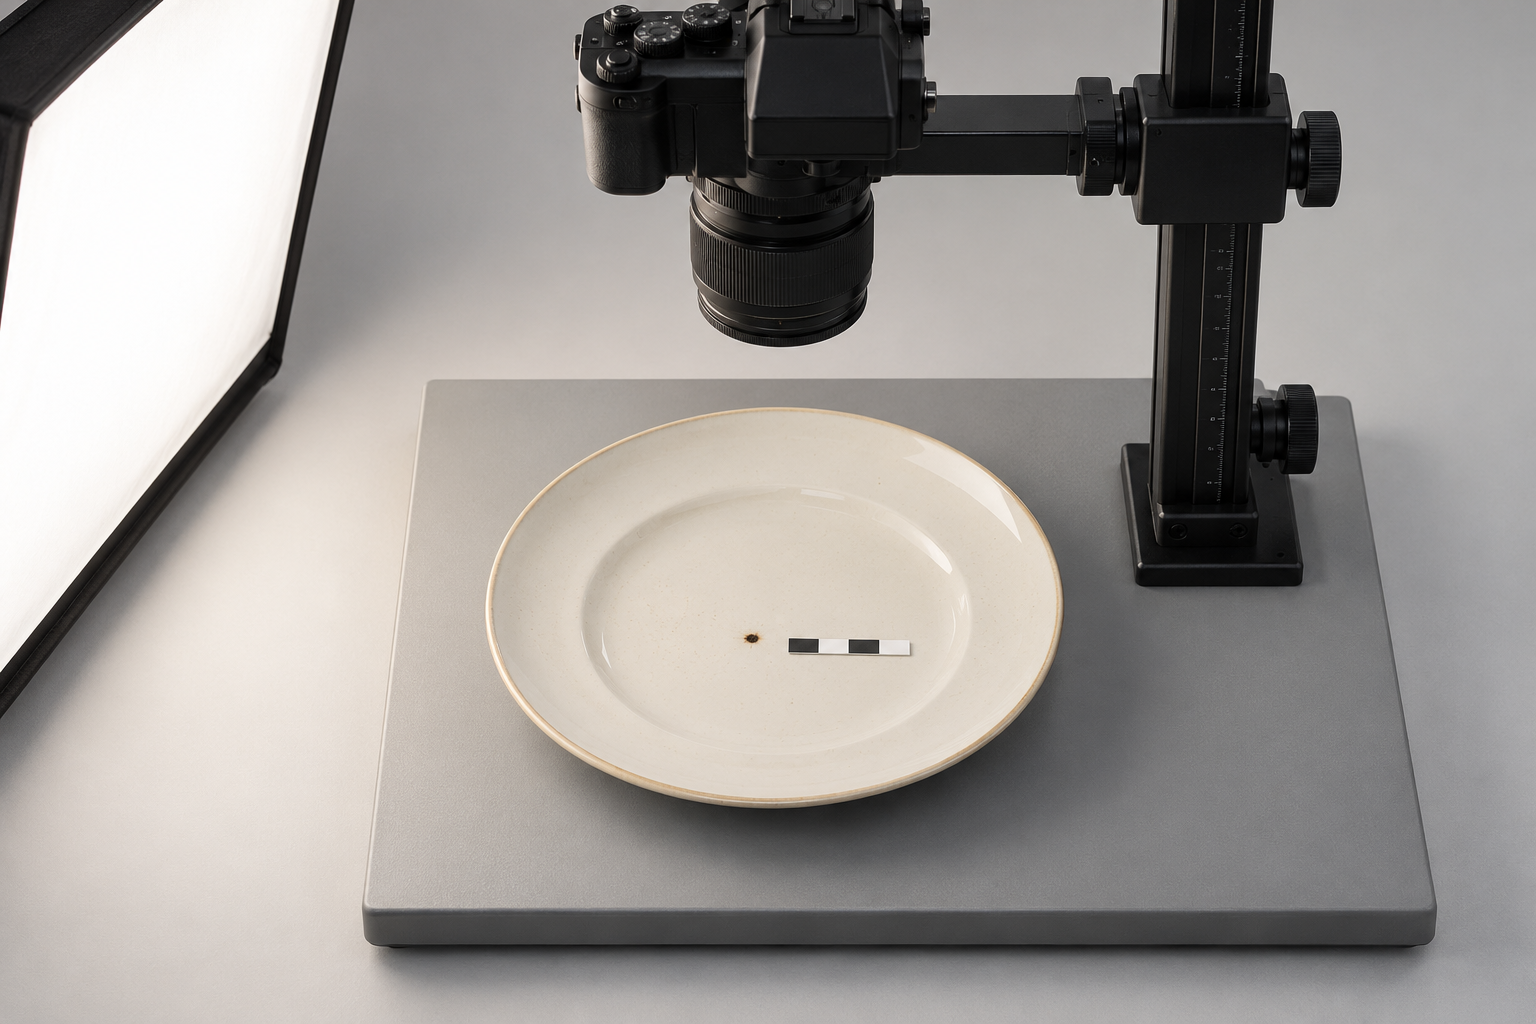
My preferred buyer tool is a short defect photo card. Create one for each disputed mark, then connect it to a retained sample.
| Photo-card field | What to enter |
|---|---|
| Product identity | SKU, shape, glaze or decoration version, batch, sample ID |
| Observation | Opening, smooth spot, raised particle, or other visible condition |
| Zone | Food-contact well, drinking rim, outer wall, underside, or foot |
| Size and distribution | Agreed measurement method, largest mark, count, clusters, and affected area |
| Viewing setup | Light, distance, angle, and whether magnification is for diagnosis only |
| References | Whole-piece photo, close-up with scale, and physical sample location |
| Decision | Accept, reject, or hold for review; reason and agreed severity |
| Approval | Buyer and supplier approval, date, revision, and applicable products |
Set numerical limits with the actual sample range and sales channel. I would not copy a universal “three spots allowed” rule into every order. A count without size, location, or clustering leaves too much open.
Take one normal viewing photo and one close-up. Keep the scale in the same plane as the mark where practical. Avoid beauty filters, heavy sharpening, and reflections that hide the surface. A macro image helps diagnosis, but it should not silently replace the agreed normal viewing conditions for cosmetic inspection.
The clearest photo card shows a boundary: an accepted example beside a rejected example, with the reason stated. Keep a separate hold category for marks that still need investigation. Uncertainty should not be recorded as acceptance.
Ask the Factory to Close the Cause, Not Just Sort the Cartons
Sorting may contain a shipment problem, but I also want to know what will prevent a repeat.
For pinholes, ask which body, glaze-application, and firing variables the team checked, and whether the improvement was confirmed on production-representative pieces. For unwanted inclusions, ask about material preparation, screening where appropriate, and contamination control. The corrective action should fit the identified cause.
Compare the trial result with the affected batch using the same observation method. If the supplier only sends a better-looking photograph, the record is incomplete. Ask how many pieces were reviewed, where they came from, and what changed.
Also keep defect severity separate from the lot sampling plan. First agree what makes one piece unacceptable. Then agree how the shipment will be sampled and assessed. A sampling number cannot repair an unclear defect definition or make a safety concern acceptable.
Keep Appearance Approval Separate From Food-Contact Evidence
The FDA’s lead in food and foodwares guidance explains that lead used in pottery can leach into food. A black dot is not a lead test, and a spotless white surface is not proof of compliance.
Ask for evidence relevant to the target market and the actual body, glaze, decoration, and product type. If a corrective action changes the material or finish, have the responsible technical team assess whether existing evidence still covers it.
I would keep that review beside the cosmetic approval record, with separate conclusions. Passing one review should not quietly stand in for passing the other.
My Advice as a Manufacturer
Bring the disputed samples into the discussion before placing the bulk order. I find it much easier to agree a ceramic defect standard when both sides can point to the same piece.
Use clear words, a small set of boundary samples, and versioned photos. Give the same reference to purchasing, factory QC, and the inspection company. If only the designer has seen the accepted finish, the approval has not reached everyone who needs it.
For ceramic pinholes and specks, my rule is to name the condition first, judge its effect second, and record the decision last. That keeps “natural variation” from becoming an answer to every question.
Questions Buyers Often Ask
Are all black spots iron specks?
No. Color alone does not identify the material. Ask the supplier to distinguish intended decoration, a fired-in inclusion, and surface contamination before assigning a cause.
Can iron specks in ceramics be an intended feature?
Yes. An approved speckled finish may include them. The distribution and surface still need clear limits, and appearance approval does not replace food-contact assessment.
Is every small depression a pinhole?
No. A closed dimple and an open hole are different conditions. Inspect the actual sample under suitable lighting rather than naming it from a low-resolution photograph.
How many pinholes should we allow?
There is no single buyer limit for every product. Define the surface and zone requirements first. I would hold open food-contact pits for review instead of granting an automatic allowance by count.
Can the factory polish or refire rejected pieces?
Do not accept either as an automatic repair. Ask what the proposed process changes, how repaired pieces will be identified, and how the finished surface and relevant performance will be reassessed.
Send the Samples With the Questions
For a FENN project, share your finish reference, product zones, target market, and photographs of the marks you want to discuss. We can work through the sample questions before they become a bulk-order dispute. The FENN Resources hub also contains related guidance on materials, testing, and care claims.