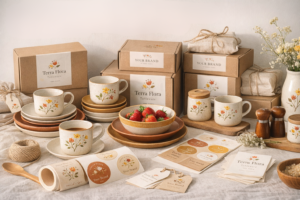
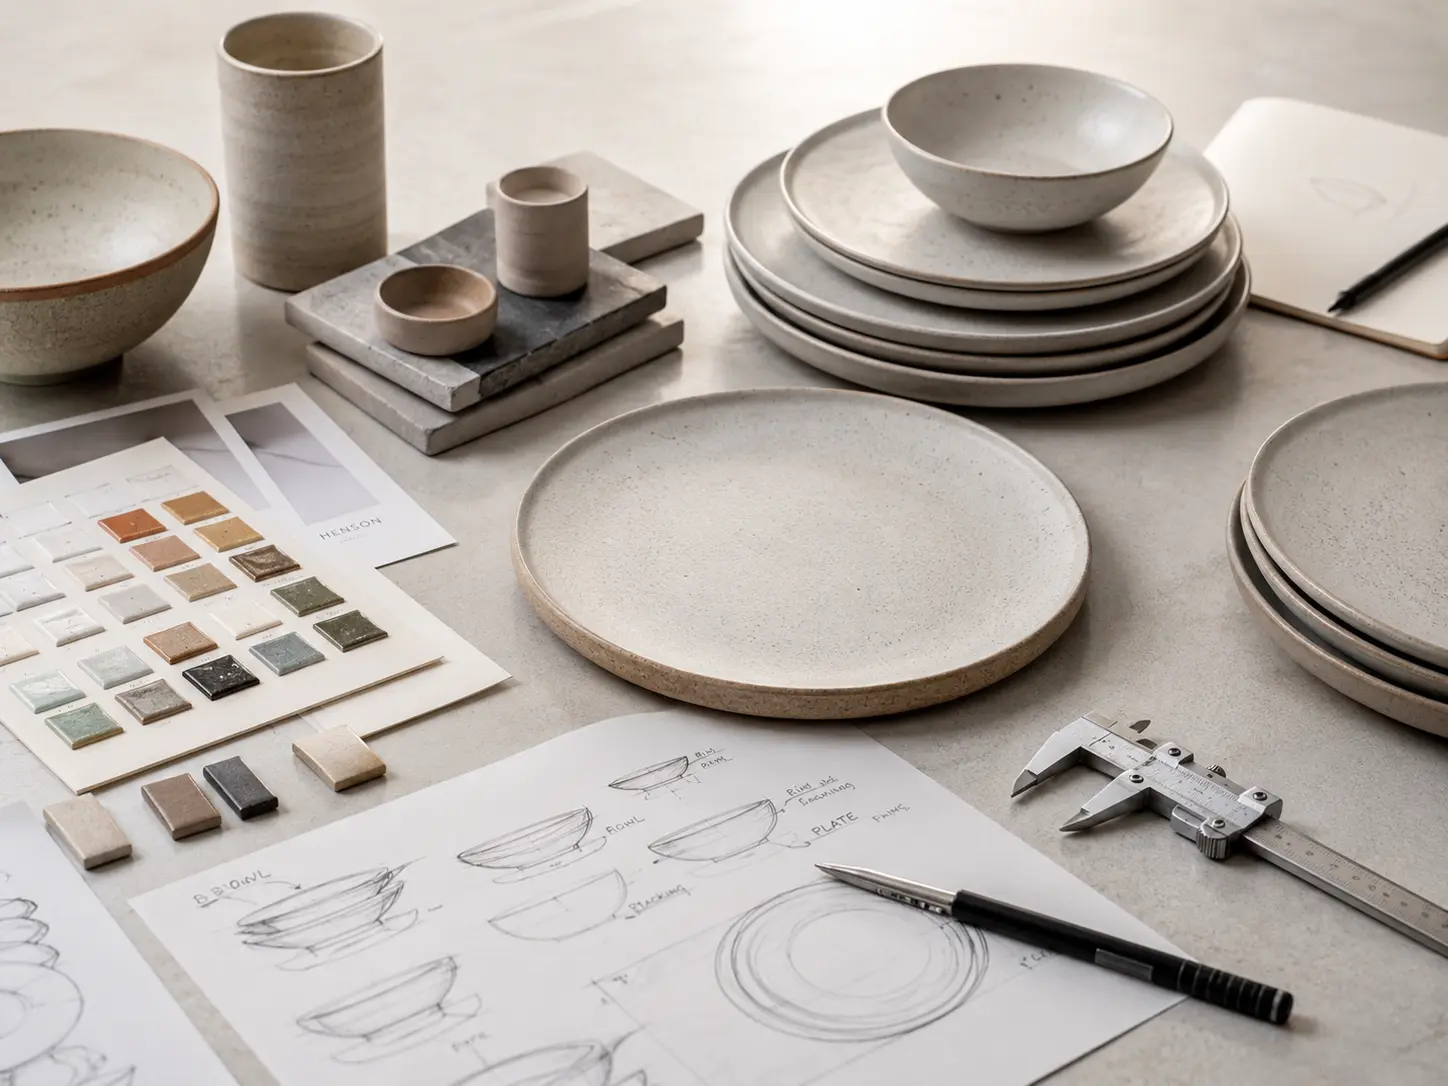
Custom dinnerware development turns a product brief into an approved specification for sampling, manufacturing, and delivery. Buyers need a clear record of what has been agreed at each stage, especially when shape, glaze, decoration, or packaging changes.
The ten custom dinnerware development steps are the product brief, design direction, material and finish selection, sampling, testing and verification, production planning, manufacturing, inspection, packaging approval, and delivery preparation. The stages can overlap: packaging and testing requirements should be defined early, then confirmed against the approved product and packing revision before release.
Here is the simple path I usually follow.
Ten development steps and the record to agree
Use this overview as a project checklist. It describes decisions to confirm with the supplier; it is not a fixed lead-time or certification promise.
| Step | Record or decision |
|---|---|
| 1. Product brief | Buyer and supplier record the target market, use case, SKU list, quantities, cost target, packaging needs, and launch window. |
| 2. Design direction | Agree drawings or references showing dimensions, capacity where relevant, handles, rims, feet, and intended stacking. |
| 3. Material and finish selection | Record body, glaze, decoration, appearance references, and any acceptable variation to assess during sampling. |
| 4. Sampling | Identify each physical sample by SKU and revision; list changes still needed before approval. |
| 5. Testing and verification | Agree intended-use claims, destination requirements, test scope, acceptance criteria, and the product revision represented by the results. |
| 6. Production planning | Confirm the approved specification, tooling, quantity by SKU, milestones, inspection plan, and unresolved release conditions. |
| 7. Manufacturing | Use the agreed specification and process checks; document and review any proposed change that affects the approved result. |
| 8. Inspection | Compare the relevant production batch with approved references and tolerances; record findings and disposition before release. |
| 9. Packaging approval | Confirm the pack count, inserts, sealed carton measurements, gross weight, labels, and agreed transport-test evidence. |
| 10. Delivery preparation | Match the packing list, carton marks, quantities, destination instructions, and agreed shipment documents to the released order. |
What Is the First Step in Custom Dinnerware Development?
The first step is not drawing. It is listening, asking, and finding the real purpose behind the product.
The first step in custom dinnerware development is creating a clear product brief. This brief should define the target customer, use case, dinnerware type, shape, color, finish, budget, order quantity, packaging needs, compliance market, and launch timeline.

A sketch communicates the look, while the brief records the use case and commercial constraints. Review both before deciding whether to adapt an existing shape or develop new tooling.
When a client says, “I want a custom dinnerware set,” I always ask a few simple questions first:
- Who will use it?
- Is it for home, hotel, restaurant, retail, or gifting?
- Should it feel handmade, clean, rustic, colorful, or premium?
- Will it go into the microwave and dishwasher?
- Which market will it enter: the US, Europe, Australia, or somewhere else?
- What price point does the brand need to hit?
These questions sound basic, but they shape everything later.
For example, a hotel plate needs strength, stackability, and stable supply. A lifestyle retail mug may need a special glaze, a cute shape, and shelf-ready packaging. A restaurant bowl may need a wide foot, good hand feel, and easy cleaning. Same “ceramic tableware,” totally different job.
A good brief also helps avoid the classic mistake: chasing beauty while forgetting cost. I have seen lovely designs become impossible because the shape was too hard to produce, the glaze was unstable, or the packaging pushed the landed cost too high. That hurts. Especially when the launch date is already printed on the calendar.
A simple dinnerware development brief
| Brief Item | What to Confirm |
|---|---|
| Product type | Plate, bowl, mug, cup, saucer, serving dish, full set |
| Use case | Retail, HoReCa, gift, private label, promotion |
| Style | Minimal, handmade, reactive glaze, white porcelain, decal, hand-painted |
| Market | US, EU, UK, Canada, Australia, Middle East |
| Compliance | Destination market, intended-use claims, applicable requirements, and agreed verification plan |
| Order plan | MOQ, first order, repeat order, launch window |
| Packaging | Brown box, color box, gift box, e-commerce safe packaging |
This is why I treat the brief like a map. Not a boring form. A map.
Keep the brief under one revision reference and record changes to product dimensions, finish, quantity, and packing. For category-specific inputs, use the custom bowl specification checklist or the custom mug and cup project checklist.
How Do You Turn a Dinnerware Idea Into a Real Design?
After the brief is clear, the idea needs shape, size, color, and a real production plan.
To turn a dinnerware idea into a real design, I translate the brief into sketches, technical drawings, size details, material choices, glaze direction, decoration method, and packaging concept. This stage connects creative ideas with what the factory can produce safely and consistently.
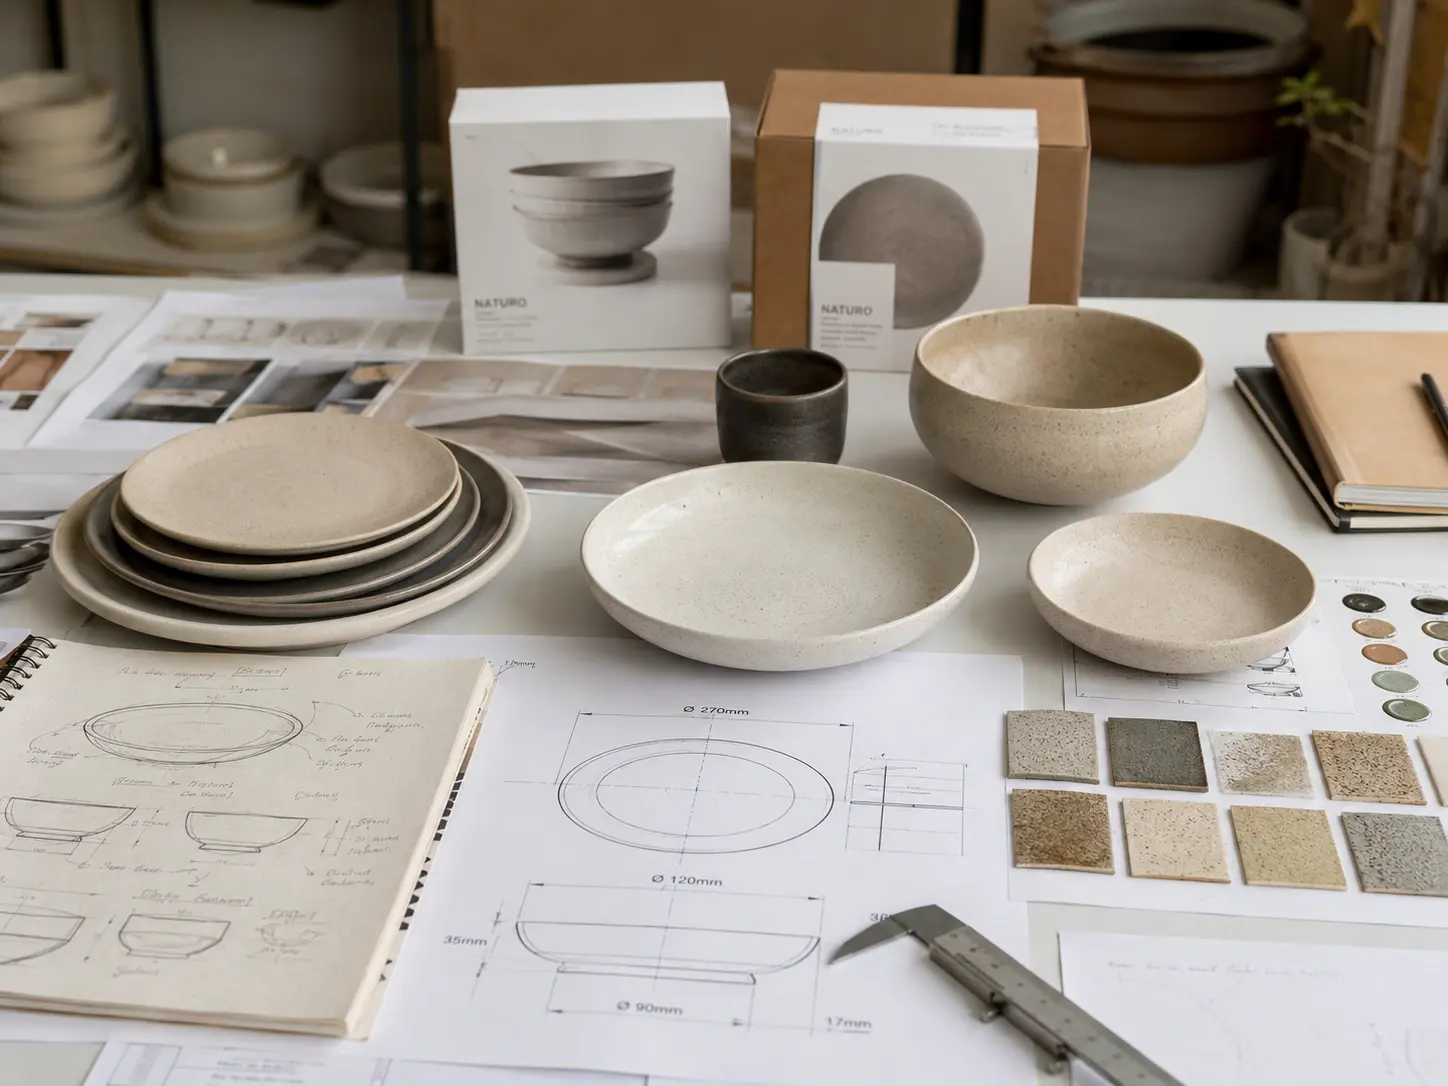
This is where the fun starts. Also where the traps hide.
A dinnerware idea may look simple on a mood board. A soft beige plate. A speckled bowl. A mug with a calm handle. But once it moves into production design, every tiny detail matters.
A plate rim that looks elegant may chip too easily. A mug handle that looks cute may feel awkward. A bowl curve that feels modern may not stack well. A reactive glaze may look rich, but it can vary from piece to piece. That can be beautiful for a handmade look, but risky if the brand needs perfect color matching.
So I like to slow down here.
First, I define the shape. Is the product round, oval, coupe, rimmed, straight-sided, or organic? Then I look at size and weight. A plate that feels “premium” in the hand can become too heavy for restaurant service. A mug that feels light can become too fragile for shipping. Balance is the quiet hero.
Next comes material. Stoneware, porcelain, new bone china, or other ceramic bodies all have different looks and uses. Porcelain feels clean and refined. Stoneware feels warm and natural. White porcelain is great for classic collections. Color glaze and reactive glaze help brands build a stronger visual identity.
Design choices that affect production
| Design Choice | Why It Matters |
|---|---|
| Shape | Affects mold cost, stacking, strength, and use experience |
| Clay body | Affects color, weight, firing, and price |
| Glaze | Affects look, food safety, stability, and defect rate |
| Decoration | Decal, hand painting, embossing, pad printing, or color glaze |
| Size | Affects packing, shipping cost, and shelf display |
| Surface finish | Glossy, matte, speckled, reactive, or textured |
For a matte finish, include utensil marking and cleaning expectations in the sample review where relevant. A finish selected from a photograph still needs evaluation for its intended home, café, or restaurant use.
That is custom dinnerware development in real life. It is not just “make it pretty.” It is “make it pretty, usable, repeatable, safe, and profitable.”
This is also where an experienced ceramic OEM/ODM partner becomes helpful. The right team can look at a sketch and say, “This detail will raise cost,” or “This glaze may not pass the market test,” or “This shape can be adjusted without losing the feeling.” That kind of honest advice saves time.
Why Are Samples So Important Before Mass Production?
Samples are the moment when a nice idea meets the real world. I never skip this step.
Samples are important because they show whether the custom dinnerware design can be produced correctly. They help check shape, size, weight, glaze color, decoration, hand feel, food safety risk, packaging fit, and customer approval before mass production starts.
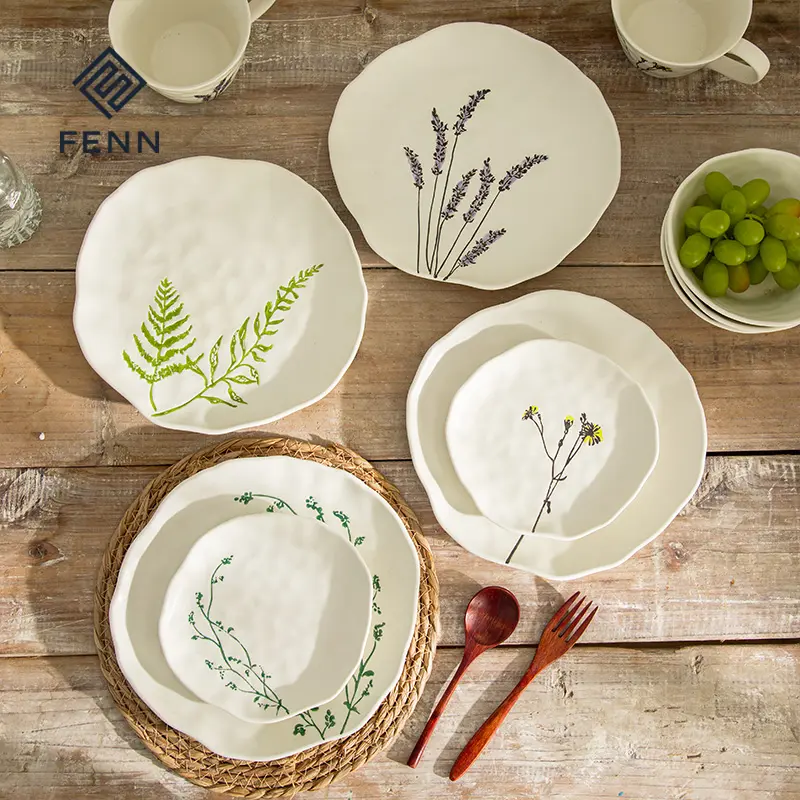
The sample stage is like the first fitting of a tailored suit. On paper, the idea may look perfect. In the hand, you notice the truth.
Maybe the mug handle is too thin. Maybe the plate feels heavier than expected. Maybe the glaze color looks warmer after firing. Maybe the decal placement needs to move two millimeters. Small things, yes. But small things become big when you produce thousands of pieces.
In custom ceramic dinnerware, samples are not only about approval. They are about learning.
A first sample may come from an existing mold, a modified mold, or a new mold. If the brand wants a fully custom shape, mold development is needed. That means more time and cost, but also more control. If the project has a tighter budget or schedule, using an existing shape with custom glaze, decal, or packaging may be smarter.
I usually divide samples into a few types:
| Sample Type | Main Purpose |
|---|---|
| Shape sample | Confirms size, body, curve, handle, foot, and stacking |
| Glaze sample | Confirms color, texture, gloss, variation, and firing result |
| Decoration sample | Confirms decal, logo, pattern, position, and color accuracy |
| Pre-production sample | Confirms the final version before bulk production |
| Packaging sample | Confirms protection, branding, barcode, and shelf look |
A lot of buyers worry when the first sample is not perfect. I understand that feeling. You open the box, take out the plate, and your heart sinks a little. “This is not what I imagined.”
But that is not failure. That is the job of sampling.
The first sample gives us something real to discuss. We can mark it, compare it, photograph it, test it, and improve it. I prefer an honest sample with visible issues over a pretty promise that cannot be repeated in production.
What I check during sample review
I check the dinnerware from three angles.
First, I check the look. Does it match the brand feeling? Is the color close to the approved reference? Does the surface look clean? Is the logo sharp?
Second, I check the function. Does it stack? Does it sit flat? Is the handle comfortable? Is the rim smooth? Can it work for microwave and dishwasher use if required?
Third, I check production risk. Is the glaze too unstable? Is the shape too easy to deform? Is the decoration too hard to align? Will the defect rate be too high?
That last part is not glamorous, but it matters. A design that creates too many defects will hurt cost, delivery, and trust.
What should a sample approval record contain?
- SKU, drawing revision, sample reference, and approval date.
- Agreed dimensions and tolerances, capacity where relevant, and stacking or handle-fit checks.
- Approved color or appearance range, decoration location, and visual defect criteria.
- Test scope and reports linked to the relevant product or packing revision.
- Open issues, required changes, named approver, and conditions that must be closed before production release.
State what is approved and what remains pending. Appearance approval does not, by itself, establish food-contact compliance, appliance suitability, or transport performance.
What Testing and Compliance Checks Are Needed for Custom Dinnerware?
Dinnerware touches food, heat, hands, and daily life. So testing is not decoration. It is protection.
Define the destination market, intended use, materials, decoration, and proposed care claims before choosing a test plan. Confirm applicable requirements and acceptance criteria with a qualified laboratory or compliance adviser. Link the evidence to the approved product specification and review whether later changes require further evaluation.
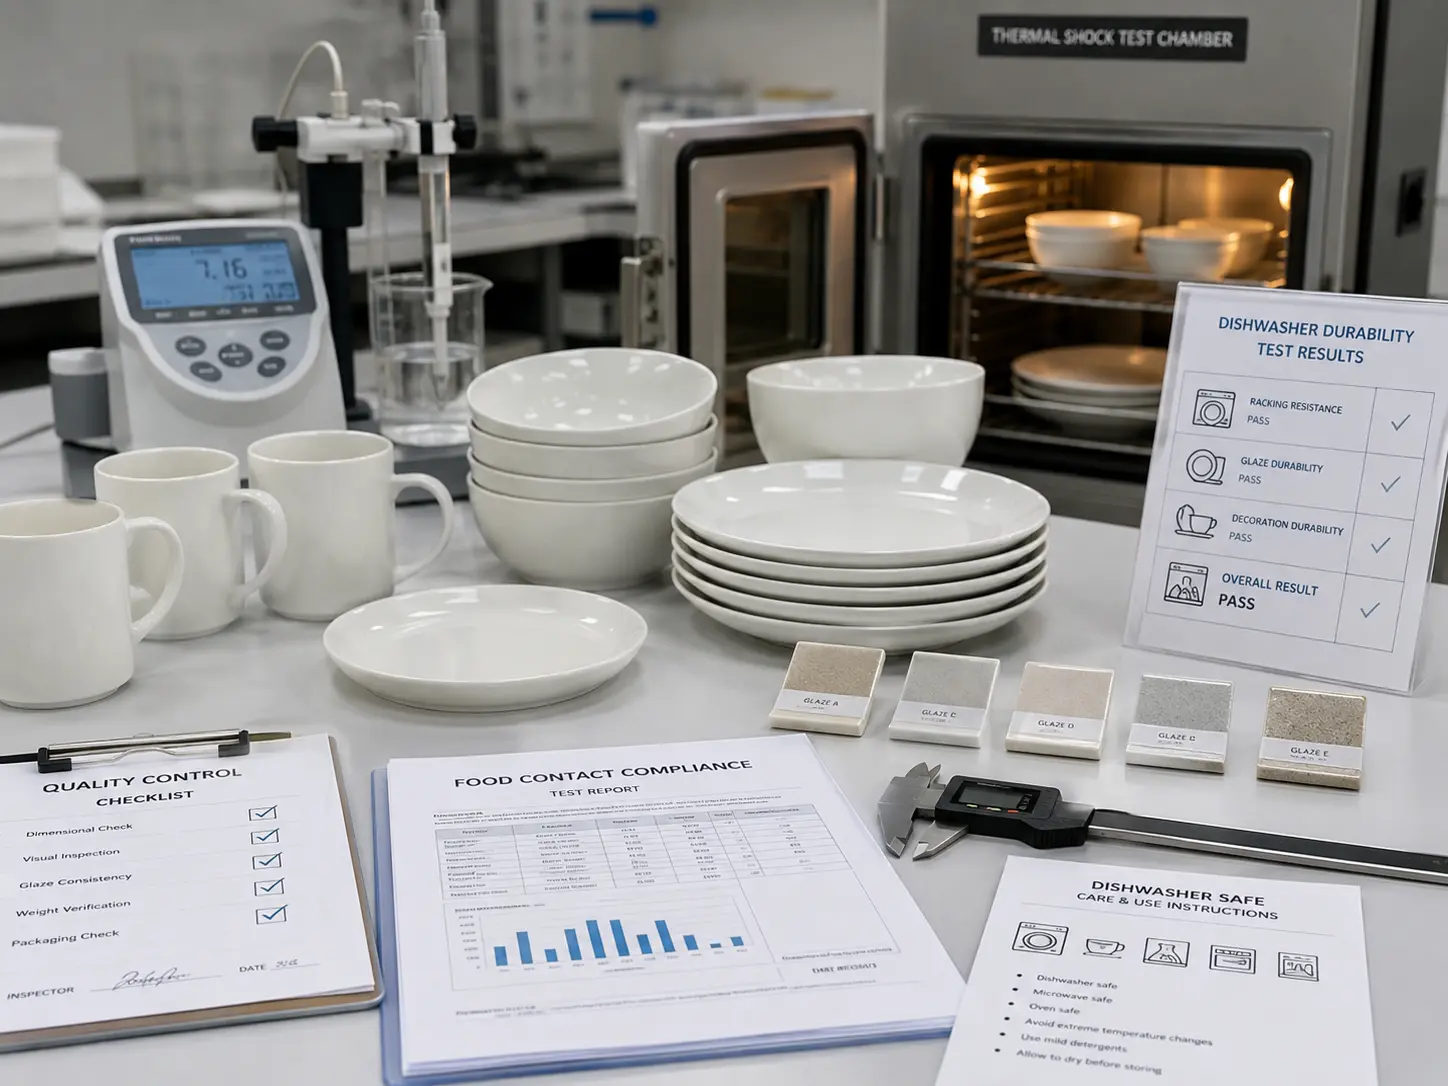
I know testing can feel like paperwork. Many people want to rush through it. I get it. Certificates do not look as exciting as a finished dinner plate on a dining table.
But testing is where a responsible custom dinnerware project becomes trustworthy.
Ceramic tableware is used with hot soup, coffee, acidic food, knives, dishwashers, and daily handling. A beautiful plate is not enough. It must be safe. It must be stable. It must meet the rules of the market where it will be sold.
Destination rules, retailer requirements, intended use, and product construction can require different evidence. Do not treat a general supplier certificate or an unrelated test report as approval for every SKU. Ask which products and revisions a report covers and which questions remain unresolved.
Common testing areas
| Testing Area | What It Helps Confirm |
|---|---|
| Lead and cadmium | Checks heavy metal release from glaze or decoration |
| Microwave safety | Confirms safe use in microwave conditions |
| Dishwasher safety | Checks durability after repeated washing |
| Thermal shock | Tests resistance to sudden temperature change |
| Water absorption | Helps evaluate body density and durability |
| Glaze surface | Checks scratching, marking, pinholes, or weak finish |
| Packaging drop test | Helps reduce breakage during transport |
One thing I always remind clients: testing should be planned early, not at the end.
Why? Because if a glaze fails after the whole design is approved, the team may need to adjust the formula, remake samples, and test again. That can delay the launch. Nobody enjoys explaining that to a sales team that already promised a retail date.
Testing also helps protect the brand story. Customers may not read every certificate, but they feel the result. A mug that survives the dishwasher. A bowl that does not stain too quickly. A plate that feels safe for family meals. These details build quiet trust.
And quiet trust sells.
Compliance is also part of brand value
For B2B buyers, compliance is not only about rules. It is part of risk control. Retailers, hotel groups, restaurant chains, and private label brands need a supplier that understands documents, testing, inspections, and repeat orders.
That is why I believe a custom dinnerware supplier should not only make nice ceramics. It should help manage the whole path from design to production, from factory to table.
How Does Mass Production Work for Custom Ceramic Dinnerware?
Mass production begins only after the final sample, testing direction, packing plan, and production details are approved.
Custom ceramic dinnerware mass production usually includes material preparation, forming, drying, first firing, glazing, decoration, final firing, sorting, quality inspection, packaging, and shipment. A clear production plan helps control quality, cost, and delivery time.
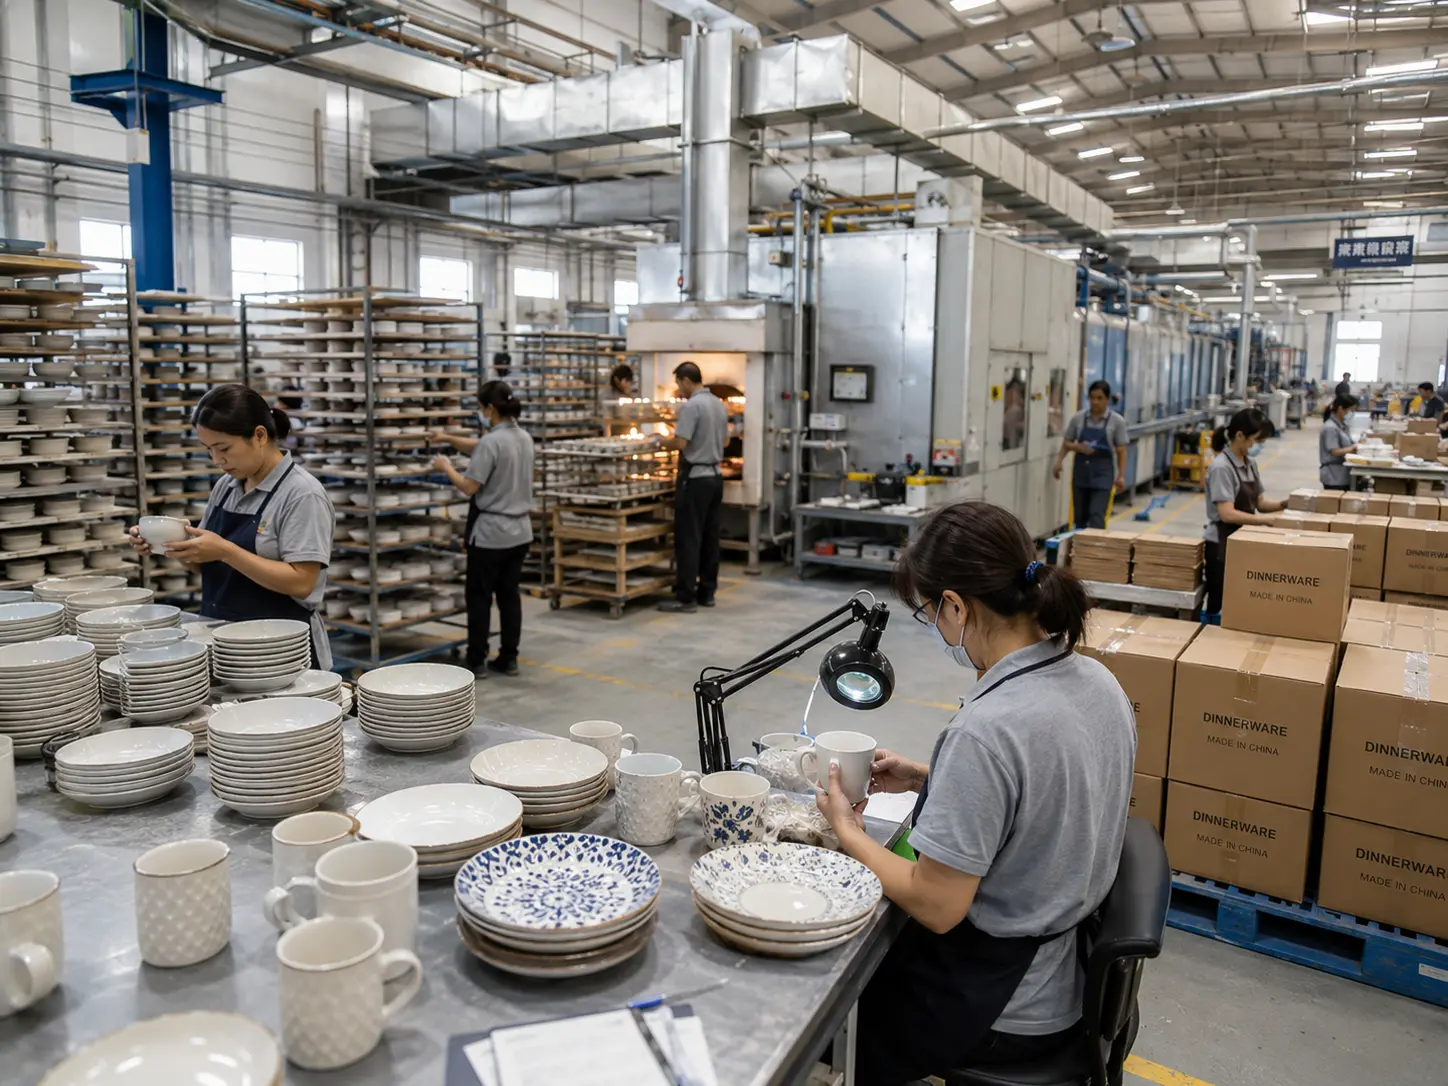
Mass production looks simple from the outside. You approve a sample, then the factory makes more of it. Easy, right?
Not quite.
Ceramics are made with earth, water, fire, pressure, timing, and human care. That sounds poetic, but it is also very practical. Clay can shrink. Glaze can move. Kiln temperature can change the final color. A small design detail can behave differently when made at scale.
That is why production control matters so much.
The process usually starts with clay or body preparation. Then the product is formed by machine, mold, casting, pressing, or other methods depending on the shape. After forming, pieces need drying. If they dry too fast, they may crack. If they dry unevenly, they may deform.
Then comes firing. Some products go through bisque firing first, then glazing, then glaze firing. Decoration may happen before or after certain firing steps, depending on the method. Decal products may need an extra decal firing. Hand-painted pieces need skilled workers and clear standards.
Basic production flow
| Step | What Happens |
|---|---|
| Material preparation | Clay body and glaze are prepared |
| Forming | Shape is made by mold, machine, or hand process |
| Drying | Moisture is removed before firing |
| Bisque firing | Ceramic body becomes stronger |
| Glazing | Surface color and finish are applied |
| Decoration | Logo, decal, pattern, or hand painting is added |
| Final firing | Glaze and decoration are fixed |
| Sorting | Defective pieces are removed |
| Packing | Products are packed for retail or shipment |
I like to think of production as a relay race. Each team passes the product to the next team. If one stage drops the baton, the whole schedule suffers.
This is why communication during production is so important. The buyer should know the timeline. The supplier should track key stages. The quality team should compare bulk goods with the approved sample. The packing team should follow the carton mark, barcode, instruction sheet, and drop-test needs.
For custom dinnerware, consistency is usually harder than creativity. Making one beautiful plate is not the biggest challenge. Making 50,000 pieces that look close enough, perform well, and arrive on time—that is the real work.
What can affect production time?
Several things can change the timeline:
- New mold development
- Special glaze testing
- Hand-painted decoration
- Decal production
- Extra firing steps
- Peak season capacity
- Testing and inspection schedule
- Custom packaging lead time
This is why I always prefer to plan backward from the launch date. If the brand needs goods in the warehouse by September, we should not start serious development in August. That is just asking for stress, late nights, and too much coffee.
How Do Quality Control and Packaging Protect the Final Dinnerware?
Quality control and packaging are the final guardrails. They protect the product, the brand, and the customer experience.
Quality control checks custom dinnerware for appearance, size, weight, color, glaze defects, cracks, chips, wobbling, logo accuracy, function, and packing safety. Good packaging reduces breakage and helps the product arrive clean, complete, and ready to sell.
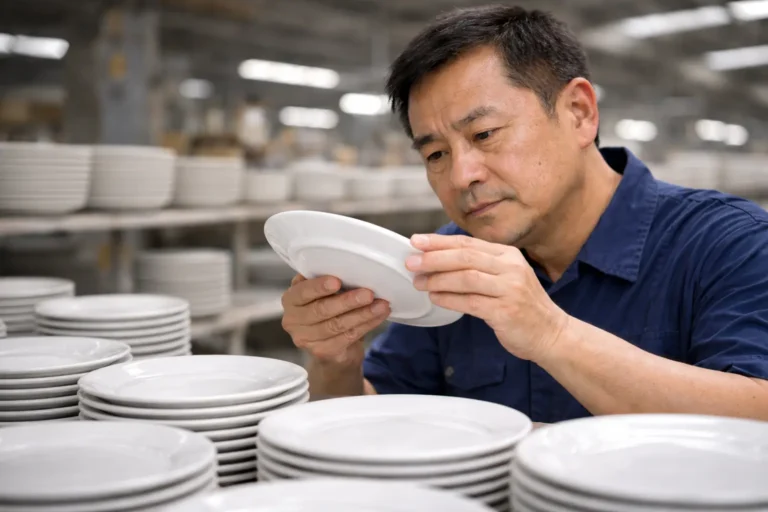
This is the stage where I become very picky. Not because I enjoy being difficult. Because customers are picky the moment they open the box.
A tiny chip on the rim. A dirty mark inside the mug. A logo slightly off center. A color that looks different from the sample. These details may seem small inside a factory, but they feel big to the person who paid for the product.
Quality control for custom ceramic dinnerware usually starts during production, not only at the end. Early checks help catch issues before too many pieces are made. Final inspection then confirms whether the bulk goods meet the approved standard.
Common dinnerware QC points
| QC Item | What to Check |
|---|---|
| Appearance | Pinholes, black spots, glaze skips, scratches, stains |
| Shape | Warping, uneven rim, unstable foot, poor stacking |
| Size and weight | Matches approved tolerance |
| Color | Close to approved sample or color range |
| Decoration | Logo position, decal quality, pattern alignment |
| Function | Microwave, dishwasher, stacking, hand feel |
| Safety | Sharp edges, cracks, weak handles |
| Packaging | Carton strength, inner protection, labels, barcode |
Packaging deserves more respect than it usually gets.
A dinnerware set may be perfect at the factory, then break during shipment because the packaging was too weak. That is painful. It also wastes product, money, and trust.
For retail, packaging is also part of the selling story. A gift box can make a simple mug feel special. A clean private label box can make a brand look more mature. For e-commerce, protection becomes even more important because the parcel may be handled many times before it reaches the buyer.
Packaging choices
Custom dinnerware packaging may include:
- Bulk packing for wholesale
- Brown box for simple export
- Color box for retail shelves
- Gift box for seasonal collections
- Mail-order box for e-commerce
- Foam, paper pulp, cardboard inserts, or honeycomb protection
- Barcode, warning label, instruction card, and care guide
Review the complete product-and-package combination. Check separation between pieces, support around vulnerable areas, pack count, and the recorded packing method before approving a shipment configuration.
That is why I believe the product experience does not end at the kiln. It ends when the customer opens the package and thinks, “Yes, this feels right.”
Conclusion
Custom dinnerware development works best when the brief, samples, verification records, production checks, and packing specification refer to the same approved revision. Use the dinnerware carton size and packing review guide to check sealed dimensions, gross weight, pallet layout, and packing changes before release.
Prepare your development brief
Share the product types and use case, target market, expected quantity by SKU, dimensions or capacity, references or artwork, required performance claims, packaging, destination, and desired timing. Mark any decisions that still need sampling or verification.