
Short Answer
Measure dinnerware dimensions on finished, cooled pieces using a flat surface, suitable tools, and agreed reference points. Record plate diameter, bowl opening and height, and mug body width separately from handle-inclusive width. Define the fill level for capacity. Before approval, ask the supplier for individual readings, a marked drawing, and agreed tolerances—not just one catalog size.
When a buyer and a factory send different measurements for the same bowl, I want to see where each person placed the ruler. One may have measured the outside rim. The other may have measured the opening. Both readings can be careful, yet answer different questions.
I prefer to settle the method while the samples are still on the bench. It saves a surprising amount of email later.
Set Up Before Measuring Dinnerware Dimensions
A dimension is a distance between defined points. A tolerance is the allowed variation around an agreed target. Keep those two ideas separate from the start.
Use clean, finished pieces at room temperature. A mold or unfired shape is not the final product. Drying and firing change ceramic size, and the change depends on the body and process. Digitalfire’s firing shrinkage reference explains that background; it does not provide a universal shrinkage allowance for your dinnerware.
From a factory point of view, the drawing should distinguish the finished target from any tooling dimensions. I would not approve a finished size by subtracting a guessed shrinkage percentage from a mold measurement.
Prepare a stable, flat surface, a rigid ruler, and suitable calipers or a height tool where needed. Check the tool’s zero and condition. For formal acceptance, confirm that its accuracy and calibration status suit the agreed tolerance. More decimal places on a display do not automatically mean a better measurement.
My first judgment check is this: can a second person follow the drawing and find the same endpoints? If not, improve the drawing before debating the number.
First Stop: Measure the Plate Across, Not Around
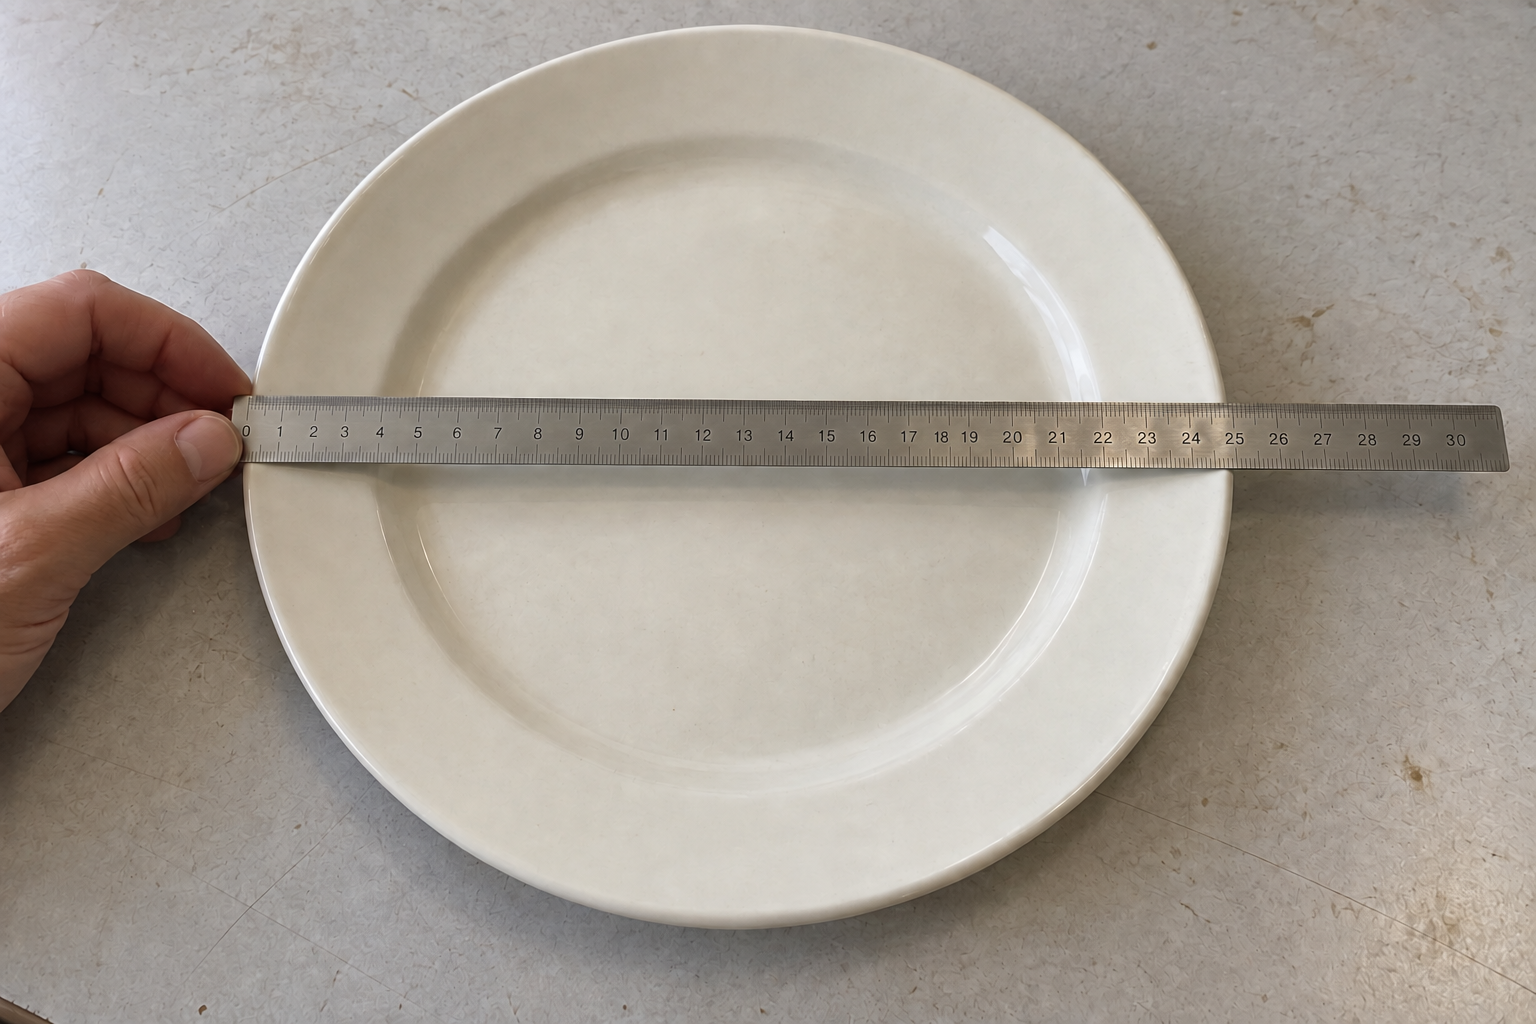
To measure ceramic plates, take a straight distance across the outside rim through the center. A flexible tape following the curved surface measures a different path. A ruler sitting at an angle can also give a misleading result.
For a round plate, check two directions at right angles and record both. Where fit depends on the largest span, rotate the plate and find that maximum too. Two readings alone may miss an irregular edge.
For an oval plate, name the longest length and the width perpendicular to it. For a soft square or organic shape, put the measurement directions on a top-view drawing. Do not let each inspector choose a different diagonal.
A large plate may exceed the reach of ordinary calipers. A suitable setup can use two parallel upright contact faces on a flat base, lightly touching opposite outer edges, with their separation measured. Confirm the faces are square and the method repeats reliably. Do not squeeze the rim or include the thickness of the contact blocks in the result.
Also separate overall diameter from usable plating area. A broad rim can make a large plate feel smaller in service. If the chef needs a particular flat food area, mark that area as its own dimension rather than estimating it from the outside diameter.
Second Stop: Give Bowls and Mugs Named Endpoints
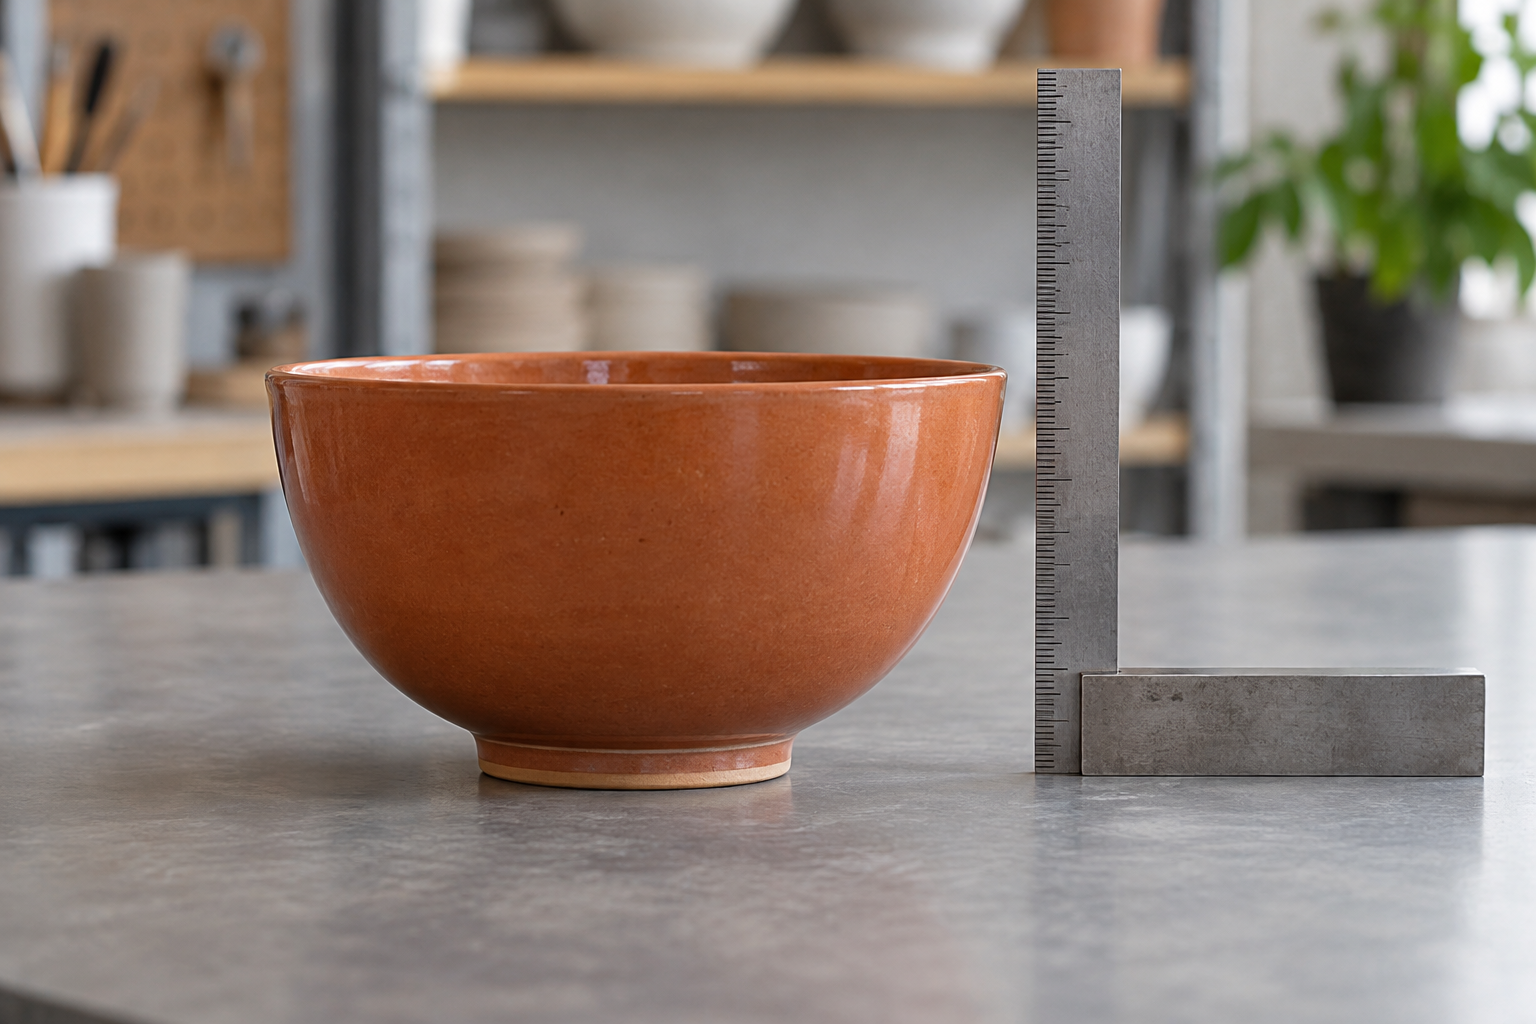
I measure overall height with the piece resting normally on its foot. The starting point is the support surface; the endpoint is the highest relevant part. Keep the tool vertical. A ruler leaning against a curved wall measures a sloping distance instead.
Bowl dimensions need extra care because outside height and inside depth are not interchangeable. The foot and base thickness take up space. For inside depth, agree a rim reference plane and a bottom contact point. A suitable depth tool can help; record the method, especially when the rim is uneven.
Use this route through the sample:
| Piece or feature | Measurement to record | Detail that makes it repeatable |
|---|---|---|
| Round plate | Outside diameter in named directions | Straight across the center; maximum span separately if fit matters |
| Oval or organic plate | Length and perpendicular width | Orient the piece as shown on the approved drawing |
| Bowl opening | Inside opening and outside rim width as separate values | Identify the rim level and contact points |
| Bowl height | Support surface to agreed top point | Piece upright; do not substitute inside depth |
| Mug body | Outside body width at the named location | Include the widest body section when checking fit |
| Mug with handle | Overall width through the handle direction | Include the full handle projection, not just its opening |
For a mug, also check whether the handle rises above the lip. If a machine or shelf has limited clearance, that projection may control the overall height.
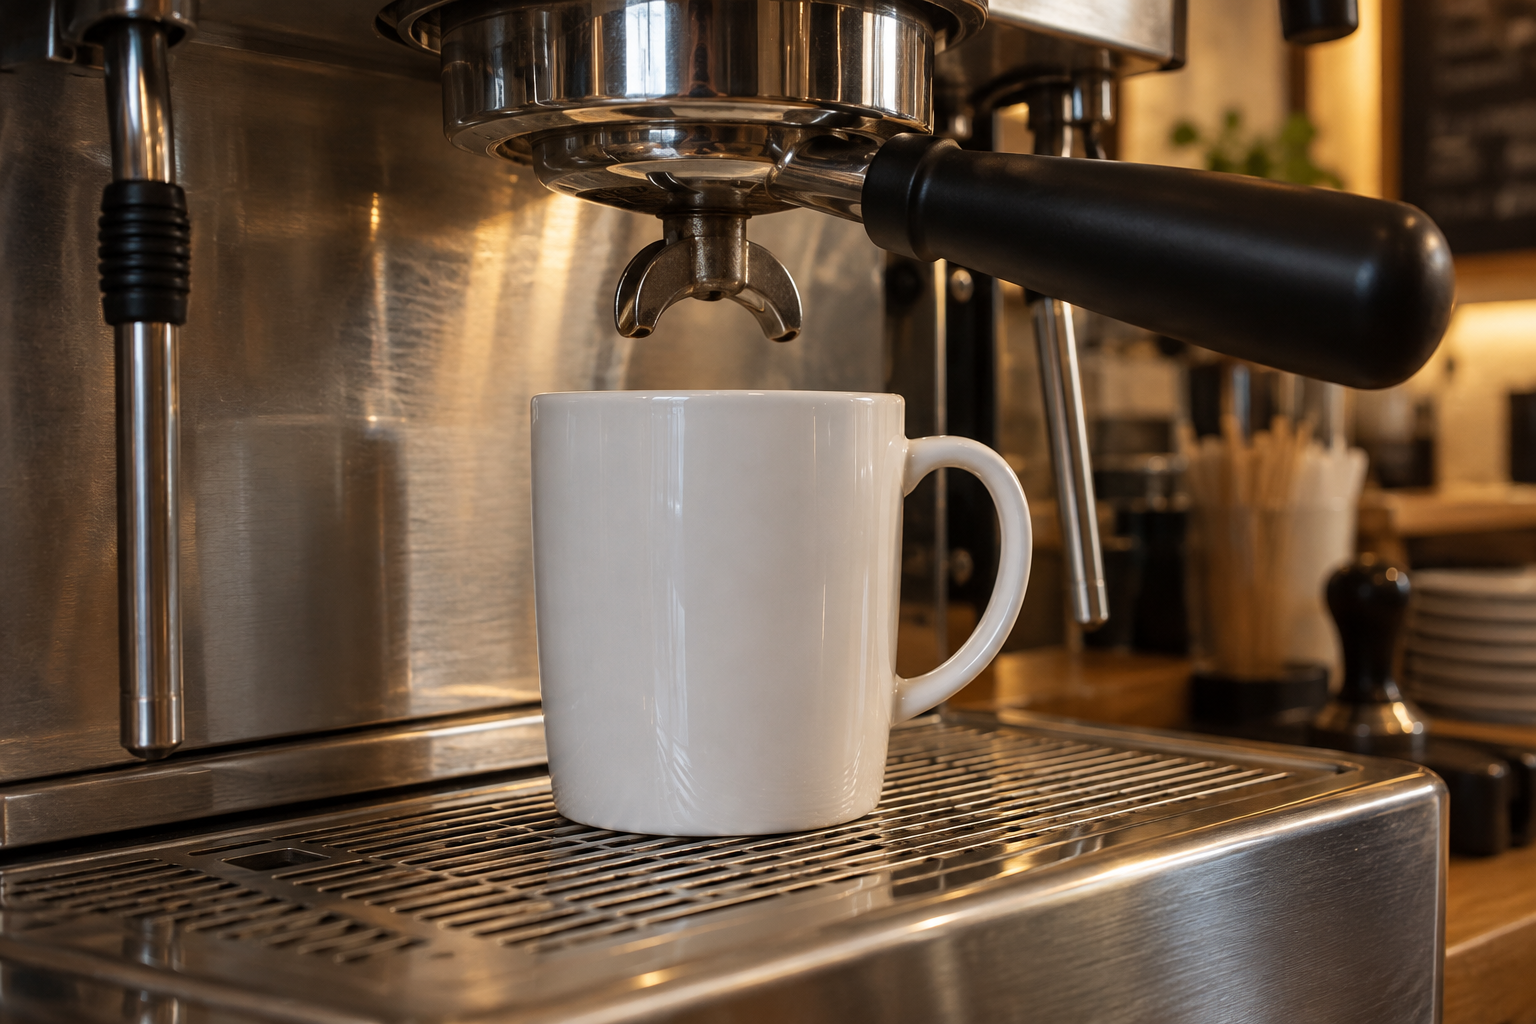
I like to keep the measurement and the use check side by side. A mug can meet its height specification and still be awkward to put under a coffee machine. Test the actual machine, tray, and approach angle before promising that fit.
Third Stop: Keep Capacity Out of the Diameter Calculation
A bowl’s outside diameter and height do not tell you its volume. Wall thickness, the curve of the base, and the inside profile all matter. Avoid calculating capacity as though every bowl were a simple cylinder.
For a practical mug capacity measurement, first agree the water level and the method. Use a level surface and a suitable graduated vessel, read at eye level, and record the amount added without losing water through spills. Repeat the check if the result will drive a purchase decision.
Name the result clearly: for example, volume to an agreed line below the rim. If measuring to the rim, define that endpoint too. Use milliliters as the master unit; if you add fluid ounces, specify the unit system.
This is a basic buyer check, not a substitute for a specified laboratory method. Ask the supplier to record the fill reference and measuring equipment. A lone “350 ml” entry is not enough to repeat the check.
Repeat the Reading Before Judging the Batch
Lift and reposition a piece, then measure it again. Ask a second person to repeat one important dimension using the same method. If readings disagree enough to affect acceptance, check alignment, contact pressure, the surface, and tool suitability before blaming production.
Next, agree how samples will be selected across the relevant production lot. One approved sample establishes a reference; it does not describe every piece in a shipment. Keep each sample’s identity and individual readings, rather than only an average.
Here is a simple exercise. These numbers are illustrative, not FENN tolerances or a recommended sampling plan.
Suppose the agreed plate diameter is 260 ± 2 mm, meaning 258–262 mm, with both limits included. Five sample readings are 259, 260, 260, 261, and 263 mm.
The mean is 260.6 mm, but the 263 mm piece is outside the agreed limit. A good average does not make that piece conforming. Record the finding and apply the agreed lot acceptance and investigation procedure; these five readings alone do not determine the status of an entire shipment.
A ceramic size tolerance should reflect the shape, process capability, and intended use. I do not apply one percentage to every plate, bowl, and mug.
Imagine that the plate must enter a rigid storage slot. Agree the maximum permitted plate size and the minimum slot opening, with enough handling clearance. Do not set the slot to the nominal plate diameter and hope normal variation will disappear.
Finish With One Clear Measurement Handoff
Keep the sample ID, batch or sample stage, drawing revision, dimension name, units, individual readings, tool, inspector, and date together. Add a photo showing the contact points when the shape is hard to explain.
For unit conversion, NIST’s length guidance confirms that one inch equals exactly 25.4 mm. Keep one master measurement and convert from it. Round public dimensions consistently, while retaining the original readings for acceptance decisions.
Then hand the finished-product envelope to the packaging team. They still need to allow for protection, packing orientation, handling, and variation. A close-fitting box copied directly from nominal ceramic dimensions is not a finished packaging design.
GS1’s product measurement guidance is useful when preparing trade-item dimensions for retailers and logistics. Identify the packaging level first. Measure the actual packed item’s outside dimensions for that purpose; do not substitute the bare bowl size or a box supplier’s internal dimensions.
My Advice as a Manufacturer
I would spend ten minutes agreeing the measurement points before spending days arguing about a small difference. Put the drawing beside the fired sample and ask both teams to demonstrate the method.
When a dimension affects a lid, storage slot, coffee machine, or protective insert, say so early. The factory needs to understand which limit matters and why. “About this size” is fine for an early idea. It is weak approval language for a part that has to fit.
Questions Buyers Often Ask
Should I measure before or after firing?
Use finished, cooled pieces for finished-product approval. Earlier measurements can help control production, but they must be identified by stage and should not replace final checks.
Is there one standard tolerance for ceramic dinnerware?
I would not assume one. Agree dimension-specific limits based on the product, manufacturing capability, and use. A supplier should explain how it checks those limits, not simply say variation is normal.
Should mug width include the handle?
Record body width and overall width separately. Include the handle in the overall envelope needed for storage and packaging, and mark the measurement direction.
Is a ruler photo enough for approval?
It helps explain the method but may hide angle or endpoint errors. Keep the actual readings, identified samples, agreed limits, and repeatable measuring method with it.
Conclusion
Reliable dinnerware dimensions begin with shared endpoints. Measure fired pieces, keep individual readings, and connect the allowed variation to the way the product will be used. I want both teams to be measuring the same thing before they approve the same number.
Explore the FENN Home Resources for related product-development guidance.